Homemade fries are usually disappointing for the same reason: the potatoes go from waterlogged to soft and then straight to brown without ever spending enough time in the crisp zone. Homemade fries basics are not mysterious. They depend on choosing a starchier potato, cutting it evenly and getting rid of excess surface moisture before the real cooking starts.
According to Idaho Potato Commission, good fries begin with evenly cut potatoes, a soak or rinse to shed extra surface starch, and enough drying before they hit hot air or oil. That matters because fries do not become crisp by wishful seasoning at the end. They become crisp by controlling water, heat and timing from the first knife cut onward.
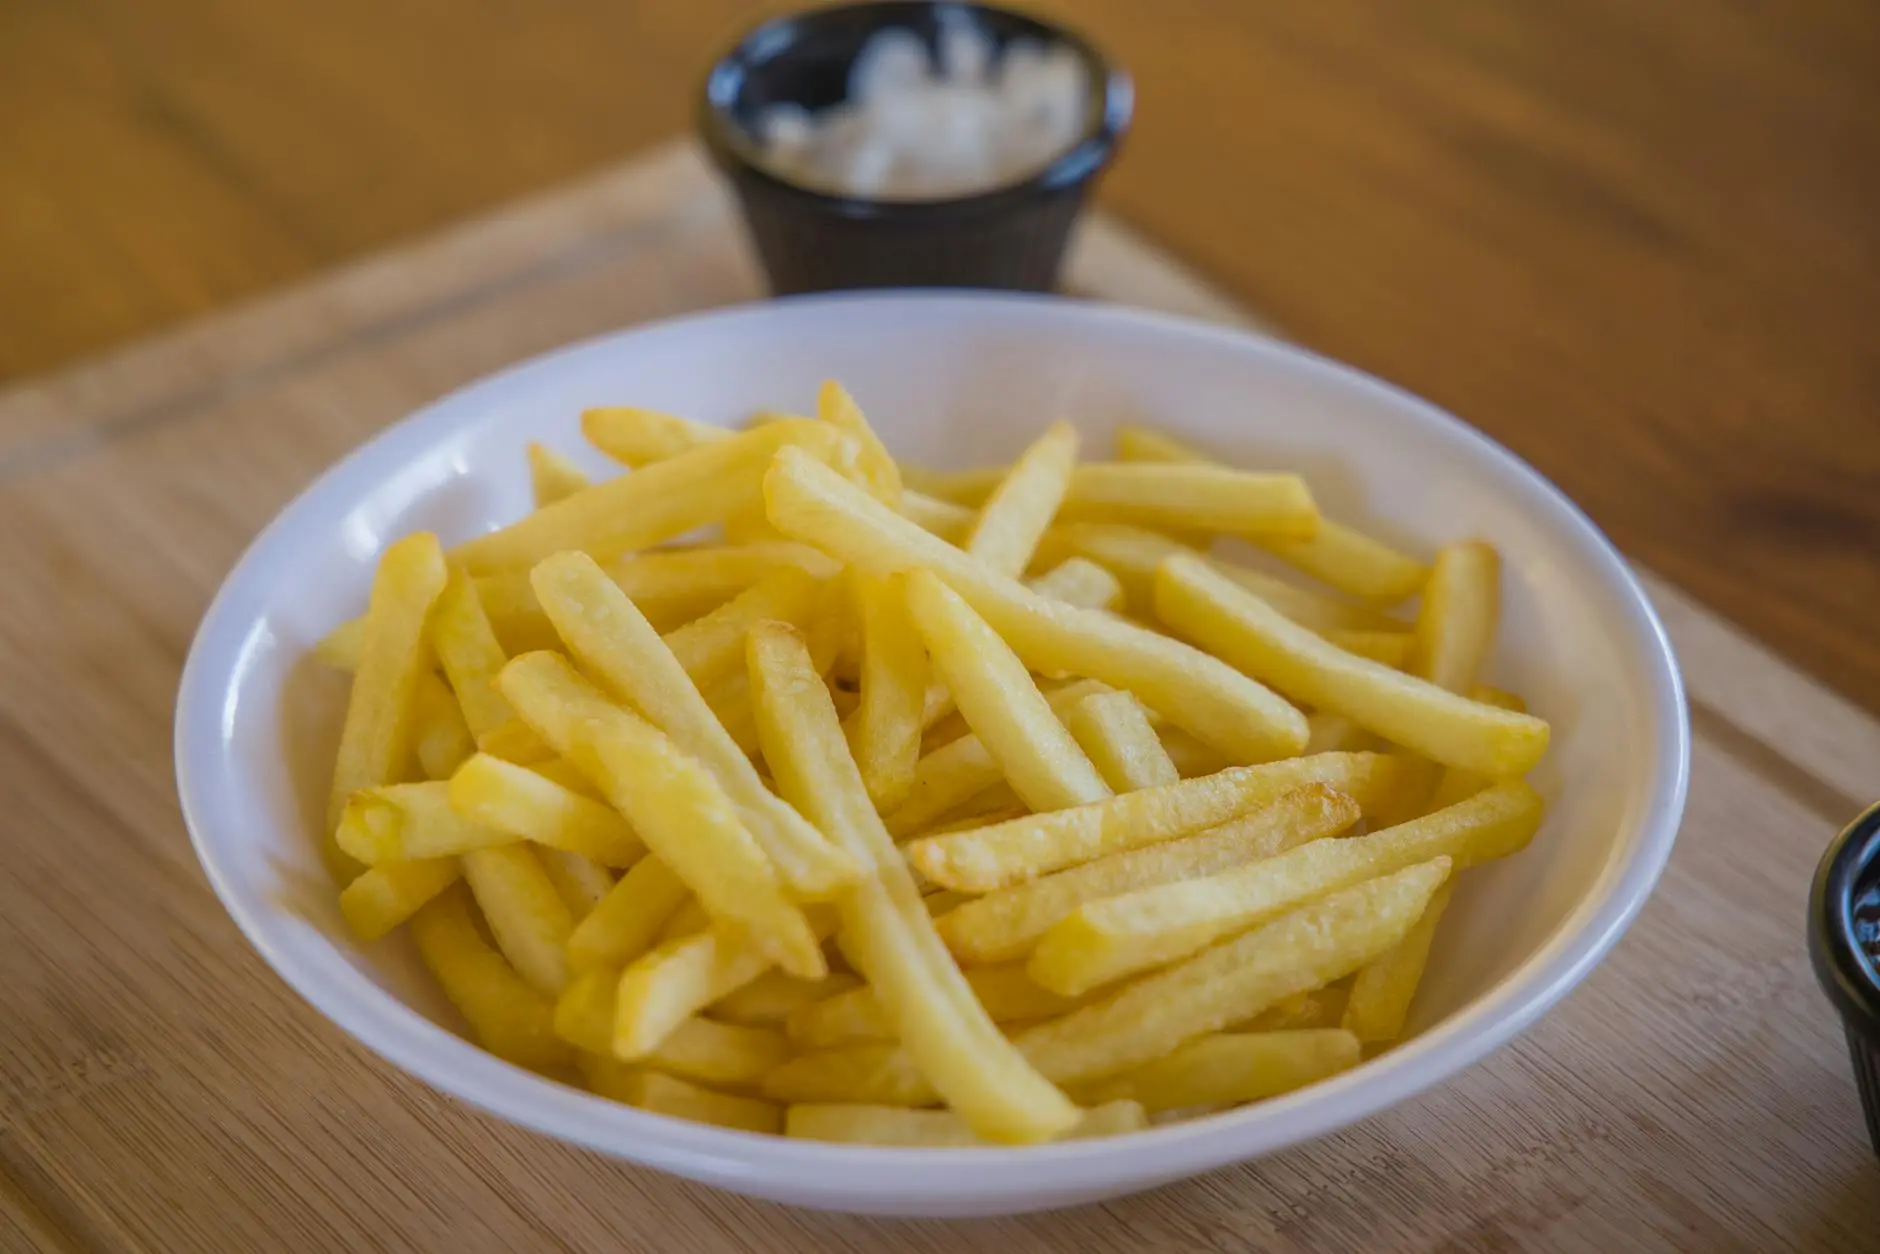
Start with uniform cuts so the batch finishes together
If one fry is thick and the next is skinny, the tray or fryer becomes a race between undercooked centers and burned edges. Homemade fries basics begin with consistency. Similar shapes cook at similar speeds, which gives the batch a real chance to brown evenly and stay worth eating from first fry to last.
Russet-style potatoes are usually better for this because their starch and moisture balance supports a fluffy interior once the outside sets. Waxy potatoes can work, but they tend to stay firmer and less fry-like in the center.
Rinse or soak, then dry like it matters
Cold water helps remove some of the starch that would otherwise gum up the surface and encourage steaming. A short soak or rinse is useful, but it only pays off if the potatoes are dried thoroughly afterward. Wet fries hit heat and start steaming immediately, which delays browning and weakens the crust.
Drying is one of the least glamorous parts of the method and one of the most important. Towels, paper towels or air drying on a rack all help, but the goal is the same: remove enough surface water that the heat can crisp instead of just evaporating moisture.
Give the potatoes enough room and enough heat
Whether the fries are baked, air-fried or fried traditionally, crowding is the enemy. Packed potatoes trap steam and soften each other. Homemade fries basics improve when the cook uses batches instead of insisting that everything fit into one crowded basket or tray.
The finish matters too. Fries need enough heat to color and crisp, not just to soften. If they look pale and flexible, they usually need more time rather than more seasoning. Salt cannot fix texture that never formed.
Season right away and serve before they collapse
Fries are most responsive to salt and seasoning as soon as they come out of the heat, when a trace of surface oil or moisture helps seasoning cling. Waiting too long can make the flavor feel flat even if the texture is still acceptable.
Homemade fries basics are ultimately about respecting texture. Even cuts, dry surfaces, uncrowded cooking and fast serving do more for the final plate than any trendy topping ever will.
That is why the best homemade fries feel simple once the method is clear. Crisp results come from deliberate prep, not luck.
Why soaking and double-cooking change the result
One reason restaurant fries feel different is that they often separate the cooking into stages. Soaking can remove surface starch, and a lower first cook helps the inside soften before the final high-heat finish crisps the exterior. Home cooks do not always need a formal double-fry, but the same logic applies when potatoes are dried well, partially cooked and then finished with stronger heat.
The final step matters most when the potatoes come out of the oil or oven. Season while they are still hot, and serve quickly. Fries hold their best texture in a short window, so the prep work should be ready before the batch is finished. That is usually the difference between fries that stay crisp and fries that turn limp on the tray.
Comments 0
No comments yet. Be the first to share your thoughts!
Leave a comment
Share your thoughts. Your email will not be published.